Sunday, November 25, 2012

Chart Plotter, GPS, Depth Finder Combo


For a while now I been needing to install a depth finder on the boat; with the lake as low as it has been I almost feel like I've been sailing blind out there.
Among other things I been wanting are a compass and a volt meter so I can keep an eye on the state of the battery.


A couple of weeks ago I got a sales brochure from West Marine where they have the Garmin 441s for $369.00; I thought it was not bad considering it has GPS, Depth Finder and a Chart Plotter all in one. I thought it will be nice to have the GPS and Chart Plotter for a few more bucks; by the time I add the Compass, a Depth Finder and the Transducer I'm almost at $300.00, so for a few more bucks the 441s started to look as a good deal.

As it turns out the 441s will not include the transducer (another $80/$100) nor the charts for the lake I sail in (plus another $99) putting the whole thing way out of what I will be willing to spend on it; none the less I decided to go see it at Bass Pro Shop which is closer than West Marine. The guy that worked the electronics counter saw me checking out this unit and asked me if I was sold on it, I replied that I was not, I was just checking it out, he said he had a much better deal depending on the features I was looking for, so I explained to him what I needed, he then pointed me to the Lowrance Elite 4, almost same size screen with a much smaller body, same basic features at a much lower price and inland lake charts and transducer included.
Once he showed me what the Elite 4 does, I saw it was way more than I need, it also has a mode where you can set the screen as a compass. The price... $299.00...  I walked out of that store carrying my recently found early Christmas present.


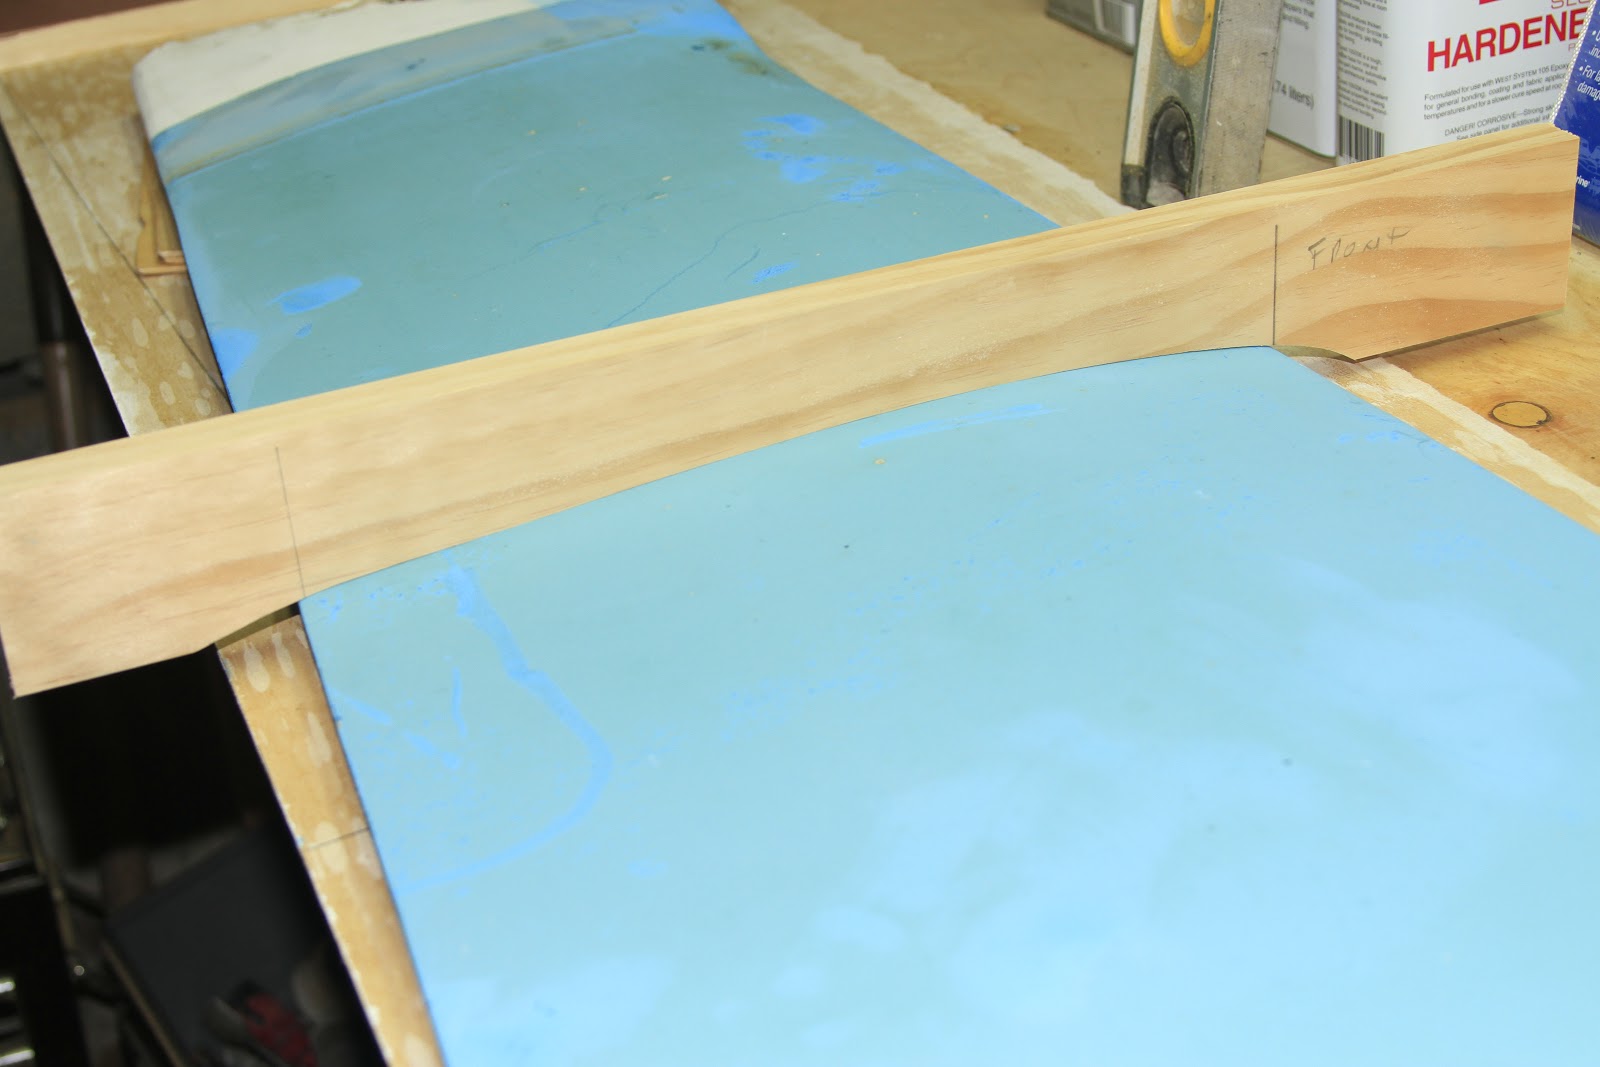
I had to decide weather to install it on the bulkhead or inside on a swinging arm. After considering all the cons of the exterior mounting on the  bulkhead it was clear I needed to build a swinging arm for the mount.  The interior mounting has several advantages for me; the unit can be used from the inside as well as the cockpit, no need to connect and disconnect the wires to the back of the unit every time you go sailing and it stays out of the way of the many lines that come from over the cabin top.
I installed the transducer in hull, which was exactly what i wanted, I did not want a transom mounted and I did not want to drill the bottom of the boat for a through hull transducer.

I just finished the installation and took the boat out for a test drive, I can say it works very well and I can sail a lot more comfortable now that I know how much water I have beneath the keel.

Sunday, November 18, 2012

The rudder is done

Ok, after about two weeks of working a bit here and there in between work, home chores and other things, the rudder is done; or at least for now. The portion over the water line has only one coat of primer as I intend to get the boat out of the water in a few weeks to have her deck and top sides painted and, it make no sense to mix just a bit of paint to do all of the about 4 Sq Ft now considering all the waste that entitles mixing two part epoxy paint.

In this picture you can see the original and compare the modifications I included on the new one.
I ended up putting 4 layers of epoxy barrier coat and 3 of bottom paint under the water line, that should last many years with only minor touch up on the bottom paint every season.

Well, I hope you enjoyed this project and come back to see the next one.  I have bought a chart plotter/GPS/Depth finder combo and have not decided yet on the installation; I might mount it on the bulkhead or build an arm that swings from the interior of the cabin outwards, we'll see......

Monday, November 12, 2012

Test Run

With the shaping of the rudder complete (still missing the touch up coat, glassing and paint) and a great weather forecast for this last Sunday, there was no excuse to miss a perfect sailing day. Winds were in the 10's gusting 15/17 Knts.


This is what the rudder was looking like on Sunday; as you can see, still needs some touch up before the glassing and painting but I figure it will be good enough for a test run.
The fit was perfect, one thing I noticed immediately was that this one is a lot more buoyant than the original one, I actually had to push it down into the water in order to hook the pintles, the original would have gone under water.
I was curious to see if the extension I built into the leading edge was going to interfere with the hull but there was no problem there.


 There she is in her natural habitat.
(Notice the engine warming up ready to leave the slip)
Leaving the slip and maneuvering in tight quarters showed no noticeable difference (the boat still turns on a dime with minimal forward movement). I do understand that having a greater wetted surface will slow me down, again I do not race and the amount it will slow me down will most likely be not noticeable to me. Also, I do understand the shape is not perfect, therefore another loss of performance.
To my surprise it steered very well, I would venture to say better than before, I was not sure I was going to be able to tell the difference between the original and the modified one but I actually could feel it and I attribute it to the forward extension.  It seems more balanced and no so much force is necessary to keep her on course when the wind picks up and the boat wants to round up (as in a gust); in other words, it makes it easier to hold a steady course.
Keep in mind this is just one test under Sunday's particular wind conditions.
I have sailed with the other rudder under similar conditions and that's what I base my comparison on.

Next is the final touch up coat, some sanding, glassing both sides and paint. Can't wait !!!

I might still get a few more sails this year .....

Thursday, November 8, 2012

First things first

As I mentioned before, last weekend I lost the rudder; luckily I was able to recover it. At the time I thought it could cause some damage to somebody running over on a speed boat but, the other great thing is, now I have it to make the template of the replacement rudder. Yes, I'll be building one myself.

 After much research and talking to people I realized I do not want to pay about $1000.00 for an improved kick-up model and I also do not want to pay $300.00 to $400.00 for a used one built the same as the one I broke nor a new equivalent replacement for about $600.00

 Here's a picture of the broken one.
As you can see it has some plywood core and then most of it is some kind of filler; which is kind of heavy by the way.
Problem #1: Notice how the bolt closer to the edge goes through filler, not plywood. I think this is a flaw which I intend to correct on my design.
Problem #2: The place where the bolts go through have no sealer of any kind and allow water to penetrate to the core and make it prone to deterioration; by the way, as per my research and judging by the way this particular rudder broke, that  is the weakest point on a rudder of this kind; therefore I intend to change that to make the two bolts go through plywood and also to remove the core around the hole and fill it with epoxy. I also plan on other changes that I will show later.

OK, to begin with, I started by making a template of the existing rudder (it was at this point when I realized it was not only a good idea to recover it, but it was also necessary).
My research on rudders seem to suggest that if the rudder extends forward of the pivoting axle it would be more balanced, making steering easier and more relaxed, specially on those moments where you have a lot of weather helm; so I decided to extend the rudder about one inch forward under the water line. I'm being conservative here as I do not want to end up with something that does not work, if the change has negative effects on steering and/or performance I expect it to be not that bad as to not having to build another one. I will just have to deal with it. If it proves beneficial, great...
Also notice at the top I extended it past the horizontal line (as the original) as I found that I mostly steer with the tiller slightly elevated, this change makes the hardware that holds the tiller to the rudder grab on solid rudder opposed to applying leverage on the hardware alone.


I proceeded to cut the main or center piece out of 1/2" marine plywood, then I added one more section of 1/2" marine plywood on each side but just over the water line. Used epoxy to glue the whole sandwich together.

Now, the hardest part (at least for me) is to shape the underwater section of the rudder with the foil shape and the chalenge of getting both sides the same as to not get any lift or pull from one side.
I thought about how to achieve this and after much consideration I came up with a plan.
I will copy the original shape of the rudder. Easier said than done considering that I made mine larger than the original. I decided that I would leave a portion flat which will account for the forward extension I added to my design. I cut a strip of 1/2" plywood, shaped it accordingly and tapered the edges, this will give me the highest point of the foil. Then, with filler epoxy I will contour the final shape of the foil.

Fist I traced the original rudder shape into what will end up being the shaping tool.


Since the one I'm building is wider I needed to split the "shaper".


Then I epoxied the center piece of plywood and applied the first coat of filler, this first coat is just to build up the shape so the shaping coat can be thinner and easier to work with.


The next step after that was to measure and secure a straight edge on which to run the shaping tool. I screwed a section of 1x3 to the center plywood piece, did one side, re-screwed the straight edge on the right position for the opposite edge side and did the same. The bottom part was shaped by hand. It would have been better to run front and back side, let dry and then do the bottom part but, with the drying time and mixture waste  I decided to go for it, I still need to do a light sanding and a final skim coat anyways.

So far, this is what it looks like, I'm very pleased with they way it's coming out. 


I will try to finish shaping both sides this weekend and next week I will wrap the whole thing in fiberglass mat, applying an additional layer on the mid section. 
Originally I was planing on doing three layers of cloth but it's not necessary, I will do only one plus some reinforcement along the water line (the weakest part of the rudder).

Sunday, November 4, 2012

Introduction

I intend to use this blog to document the progress on the remodeling and upgrade of my boat; a 1980 Catalina 22 to be named Olowaili (Goddess of Peace in the Kuna Language).
After sailing her all summer today she lost the rudder and that marks the end of the 2012 season; I will bring her home and start the repairs and upgrades that will continue during the winter, the list of things to do is long, so is the wish list for gadgets and time is scarce, but I'll do as much as possible before launching her next year.

I invite all of you to follow along....